

前言与TiDB简介
在国家信创产业发展的大背景下,身边不少同行都和我一样,需要持续学习新技术。每次接触新的技术栈,我都会在个人笔记本上搭建测试环境,同时做好学习笔记。国产分布式数据库发展势头越来越猛,TiDB(平凯数据库企业版)作为 HTAP 类型的代表数据库,岗位需求持续上涨,官方社区也开放了免费考证活动,零基础、在校生、运维、后端开发都可以参与,低成本拿到分布式数据库能力背书;恰逢 TiDB 官网推出免费认证考试活动,我也是很荣幸成功已经考取了证书,本期结合考证学习来复盘分享我两年前部署 TiDB 7.5 实验测试环境的完整过程,以及实操过程中遇到的问题与排坑经验。 我也是近三年才入行的技术小透明,个人水平有限,文中若有错误或是表述不妥之处,欢迎大家批评指正。
TiDB 是 PingCAP 公司自主设计、研发的开源分布式关系型数据库,是一款同时支持在线事务处理与在线分析处理 (Hybrid Transactional and Analytical Processing, HTAP) 的融合型分布式数据库产品,具备水平扩容或者缩容、金融级高可用、实时 HTAP、云原生的分布式数据库、兼容 MySQL 协议和 MySQL 生态等重要特性。目标是为用户提供一站式 OLTP (Online Transactional Processing)、OLAP (Online Analytical Processing)、HTAP 解决方案。TiDB 适合高可用、强一致要求较高、数据规模较大等各种应用场景。
TiDB学习资源
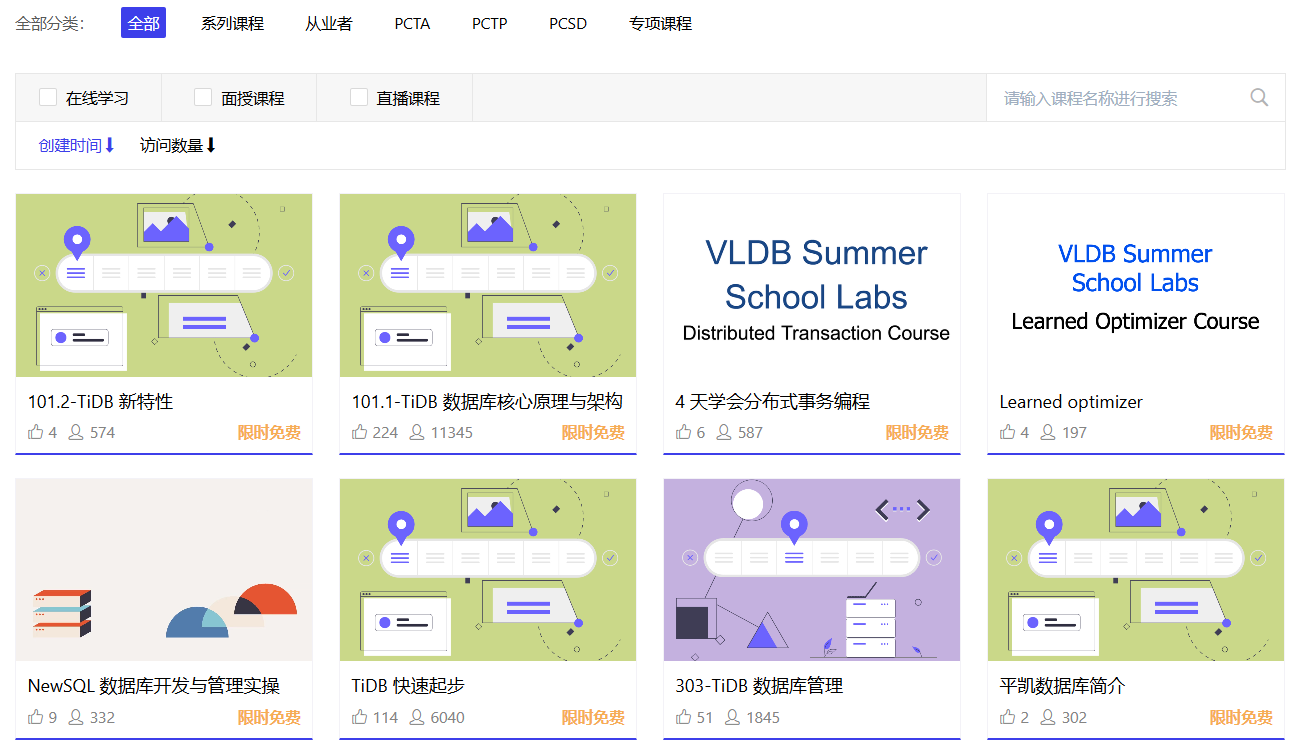
在线视频:https://learn.pingkai.cn/learner/course
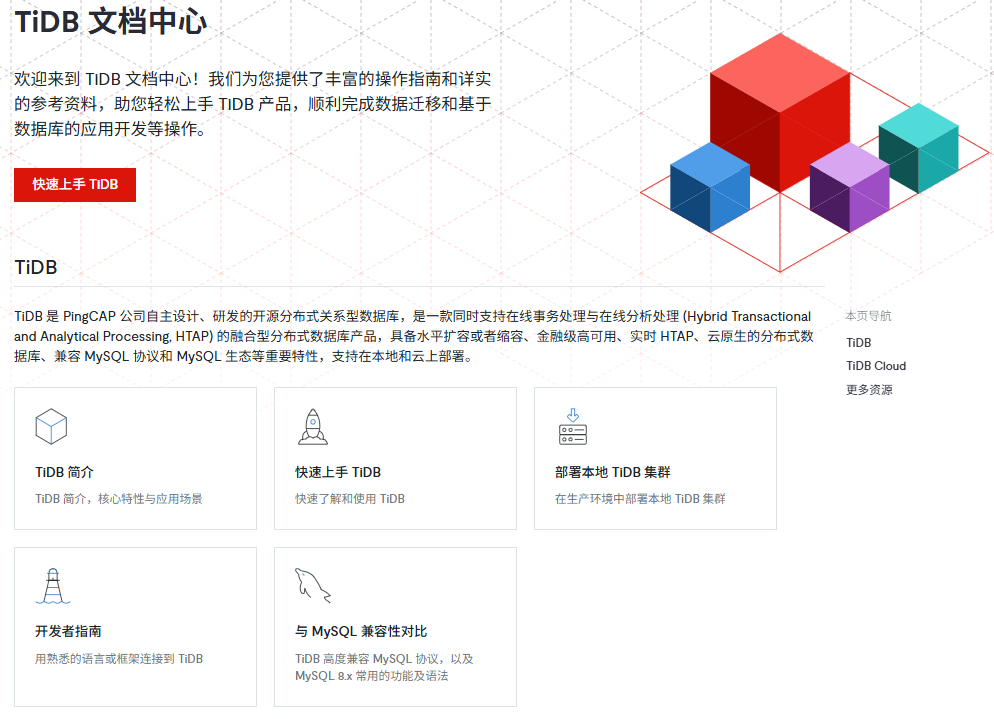
在线文档:https://docs.pingcap.com/zh/
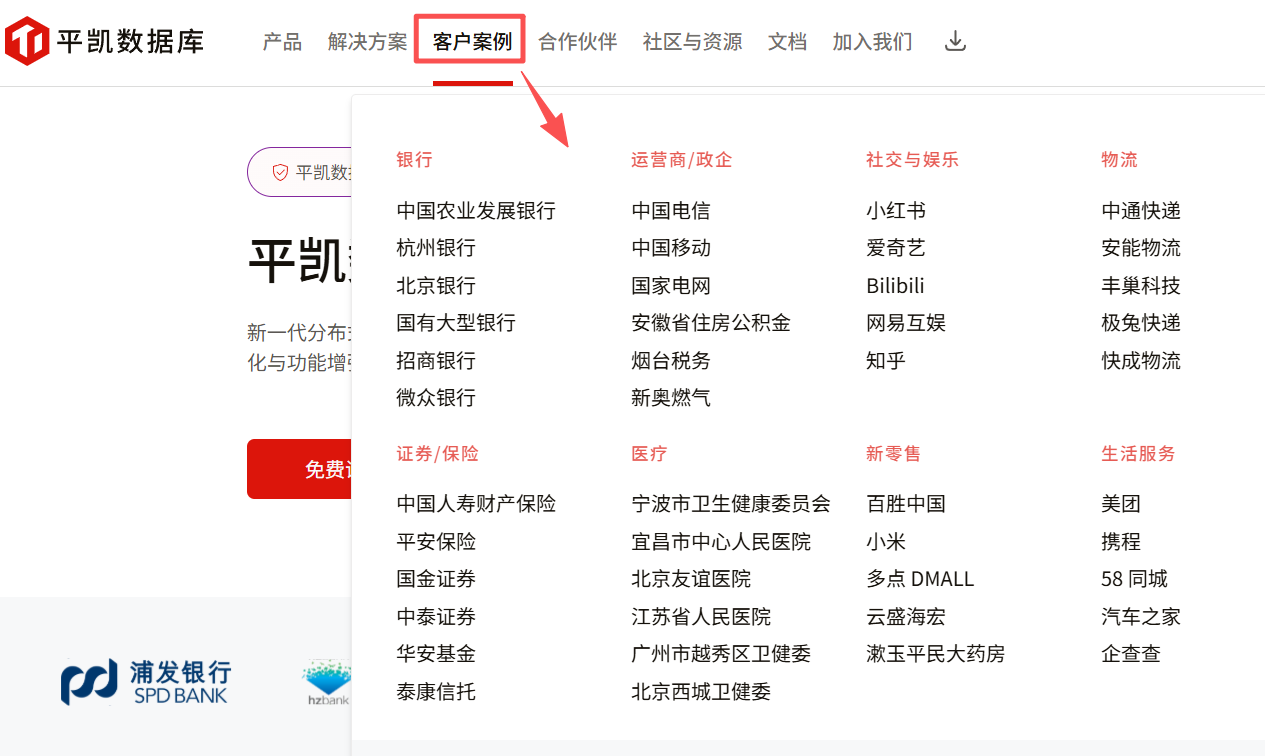
TiDB官网案例分享:https://pingkai.cn/
单机模拟部署生产集群
本节介绍如何在单台 Linux 服务器上体验 TiDB 最小的完整拓扑的集群,并模拟生产环境下的部署步骤。
下文将参照 TiUP 最小拓扑的一个 YAML 文件部署 TiDB 集群。
准备环境:
- 部署需要使用部署主机的 root 用户及密码
- 部署主机关闭防火墙或者开放 TiDB 集群的节点间所需端口
- 目前 TiUP Cluster 支持在 x86_64(AMD64)和 ARM 架构上部署 TiDB 集群
- 推荐安装 CentOS 7.3 及以上版本
- 运行环境可以支持互联网访问,用于下载 TiDB 及相关软件安装包
最小规模的 TiDB 集群拓扑包含以下实例:
| 实例 | 个数 | IP地址 | 配置 |
|---|---|---|---|
| TiKV | 3 | 192.168.1.1 192.168.1.1 192.168.1.1 | 避免端口和目录冲突 |
| PD | 1 | 192.168.1.1 | 默认端口和全局目录配置 |
| TiFash | 1 | 192.168.1.1 | 默认端口和全局目录配置 |
| Monitor | 1 | 192.168.1.1 | 默认端口和全局目录配置 |
下载并安装 TiUP:
curl --proto '=https' --tlsv1.2 -sSf https://tiup-mirrors.pingcap.com/install.sh | sh
Successfully set mirror to https://tiup-mirrors.pingcap.com
Detected shell: bash
Shell profile: root/.bash_profile
/root/.bash_profile has been modified to add tiup to PATH
open a new terminal or source root/.bash_profile to use it
Installed path: root/.tiup/bin/tiup
===============================================
Have a try: tiup playground
===============================================
声明全局环境变量:
--source ${your_shell_profile}
source root/.bash_profile
安装 TiUP 的 cluster 组件:
tiup cluster
如果机器已经安装 TiUP cluster,需要更新软件版本:tiup update --self && tiup update cluster
由于模拟多机部署,需要通过 root 用户调大 sshd 服务的连接数限制,修改 etc/ssh/sshd_config 将 MaxSessions 调至 20,重启 sshd 服务:service sshd restart
创建并启动集群:
配置模板如下:
# Global variables are applied to all deployments and used as the default value of
# the deployments if a specific deployment value is missing.
global:
user: "tidb"
ssh_port: 22
deploy_dir: "/tidb-deploy"
data_dir: "/tidb-data"
# Monitored variables are applied to all the machines.
monitored:
node_exporter_port: 9100
blackbox_exporter_port: 9115
server_configs:
tidb:
instance.tidb_slow_log_threshold: 300
tikv:
readpool.storage.use-unified-pool: false
readpool.coprocessor.use-unified-pool: true
pd:
replication.enable-placement-rules: true
replication.location-labels: ["host"]
tiflash:
logger.level: "info"
pd_servers:
  - host: 192.168.1.1
tidb_servers:
  - host: 192.168.1.1
tikv_servers:
 - host: 192.168.1.1
   port: 20160
   status_port: 20180
   config:
     server.labels: { host: "logic-host-1" }


 - host: 192.168.1.1
   port: 20161
   status_port: 20181
   config:
     server.labels: { host: "logic-host-2" }


 - host: 192.168.1.1
   port: 20162
   status_port: 20182
   config:
     server.labels: { host: "logic-host-3" }


tiflash_servers:
 - host: 192.168.1.1


monitoring_servers:
 - host: 192.168.1.1


grafana_servers:
 - host: 192.168.1.1
执行集群部署命令:
--tiup cluster deploy ./topo.yaml --user root -p
tiup cluster deploy sjkywzd v7.5.1 ./topo.yaml --user root -p
Do you want to continue? [y/N]: y
Input SSH password:


+ Detect CPU Arch Name
  - Detecting node 192.168.1.1 Arch info ... Done


+ Detect CPU OS Name
  - Detecting node 192.168.1.1 OS info ... Done
Please confirm your topology:
Cluster type:    tidb
Cluster name:    sjkywzd
Cluster version: v7.5.1
Role        Host             Ports                            OS/Arch       Directories
----        ----             -----                            -------       -----------
pd          192.168.1.1  2379/2380                        linux/x86_64  tidb-deploy/pd-2379,/tidb-data/pd-2379
tikv        192.168.1.1  20160/20180                      linux/x86_64  tidb-deploy/tikv-20160,/tidb-data/tikv-20160
tikv        192.168.1.1  20161/20181                      linux/x86_64  tidb-deploy/tikv-20161,/tidb-data/tikv-20161
tikv        192.168.1.1  20162/20182                      linux/x86_64  tidb-deploy/tikv-20162,/tidb-data/tikv-20162
tidb        192.168.1.1  4000/10080                       linux/x86_64  /tidb-deploy/tidb-4000
tiflash     192.168.1.1  9000/8123/3930/20170/20292/8234  linux/x86_64  /tidb-deploy/tiflash-9000,/tidb-data/tiflash-9000
prometheus  192.168.1.1  9090/12020                       linux/x86_64  /tidb-deploy/prometheus-9090,/tidb-data/prometheus-9090
grafana     192.168.1.1  3000                             linux/x86_64  /tidb-deploy/grafana-3000
Attention:
    1. If the topology is not what you expected, check your yaml file.
    2. Please confirm there is no port/directory conflicts in same host.
Do you want to continue? [y/N]: (default=N) y
+ Generate SSH keys ... Done
+ Download TiDB components
  - Download pd:v7.5.1 (linux/amd64) ... Done
  - Download tikv:v7.5.1 (linux/amd64) ... Done
  - Download tidb:v7.5.1 (linux/amd64) ... Done
  - Download tiflash:v7.5.1 (linux/amd64) ... Done
  - Download prometheus:v7.5.1 (linux/amd64) ... Done
  - Download grafana:v7.5.1 (linux/amd64) ... Done
  - Download node_exporter: (linux/amd64) ... Done
  - Download blackbox_exporter: (linux/amd64) ... Done
+ Initialize target host environments
  - Prepare 192.168.1.1:22 ... Done
+ Deploy TiDB instance
  - Copy pd -> 192.168.1.1 ... Done
  - Copy tikv -> 192.168.1.1 ... Done
  - Copy tikv -> 192.168.1.1 ... Done
  - Copy tikv -> 192.168.1.1 ... Done
  - Copy tidb -> 192.168.1.1 ... Done
  - Copy tiflash -> 192.168.1.1 ... Done
  - Copy prometheus -> 192.168.1.1 ... Done
  - Copy grafana -> 192.168.1.1 ... Done
  - Deploy node_exporter -> 192.168.1.1 ... Done
  - Deploy blackbox_exporter -> 192.168.1.1 ... Done
+ Copy certificate to remote host
+ Init instance configs
  - Generate config pd -> 192.168.1.1:2379 ... Done
  - Generate config tikv -> 192.168.1.1:20160 ... Done
  - Generate config tikv -> 192.168.1.1:20161 ... Done
  - Generate config tikv -> 192.168.1.1:20162 ... Done
  - Generate config tidb -> 192.168.1.1:4000 ... Done
  - Generate config tiflash -> 192.168.1.1:9000 ... Done
  - Generate config prometheus -> 192.168.1.1:9090 ... Done
  - Generate config grafana -> 192.168.1.1:3000 ... Done
+ Init monitor configs
  - Generate config node_exporter -> 192.168.1.1 ... Done
  - Generate config blackbox_exporter -> 192.168.1.1 ... Done
Enabling component pd
  Enabling instance 192.168.1.1:2379
  Enable instance 192.168.1.1:2379 success
Enabling component tikv
  Enabling instance 192.168.1.1:20162
  Enabling instance 192.168.1.1:20160
  Enabling instance 192.168.1.1:20161
  Enable instance 192.168.1.1:20161 success
  Enable instance 192.168.1.1:20160 success
  Enable instance 192.168.1.1:20162 success
Enabling component tidb
  Enabling instance 192.168.1.1:4000
  Enable instance 192.168.1.1:4000 success
Enabling component tiflash
  Enabling instance 192.168.1.1:9000
  Enable instance 192.168.1.1:9000 success
Enabling component prometheus
  Enabling instance 192.168.1.1:9090
  Enable instance 192.168.1.1:9090 success
Enabling component grafana
  Enabling instance 192.168.1.1:3000
  Enable instance 192.168.1.1:3000 success
Enabling component node_exporter
  Enabling instance 192.168.1.1
  Enable 192.168.198.132 success
Enabling component blackbox_exporter
  Enabling instance 192.168.1.1
  Enable 192.168.198.132 success
Cluster `sjkywzd` deployed successfully, you can start it with command:
首次启动集群:
tiup cluster start sjkywzd --init
访问集群:
yum -y install mysql
yum install numactl
访问 TiDB 数据库,密码为空:mysql -h 192.168.1.1 -P 4000 -u root
访问 TiDB 的 Grafana 监控:
通过 http://{grafana-ip}:3000 访问集群 Grafana 监控页面,默认用户名和密码均为 admin。
http://192.168.1.1:3000/login

访问 TiDB 的 Dashboard:
通过 http://{pd-ip}:2379/dashboard 访问集群 TiDB Dashboard 监控页面,默认用户名为 root,密码为空。

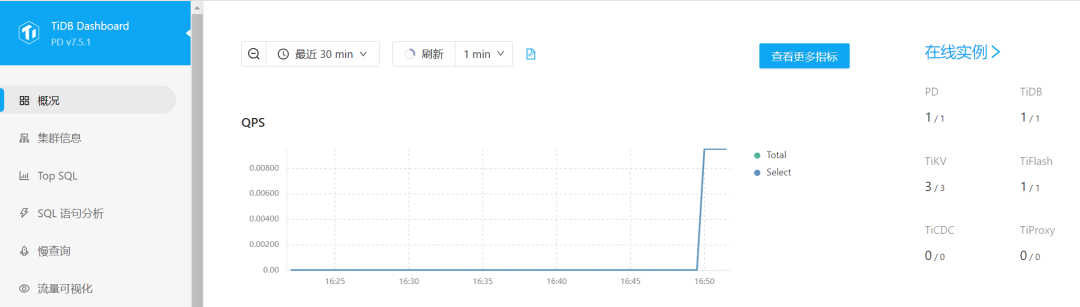
执行以下命令确认当前已经部署的集群列表:tiup cluster list
[root@tidb log]# tiup cluster list


Name     User  Version  Path                                          PrivateKey


----     ----  -------  ----                                          ----------


sjkywzd  tidb  v7.5.1   /root/.tiup/storage/cluster/clusters/sjkywzd  /root/.tiup/storage/cluster/clusters/sjkywzd/ssh/id_rsa
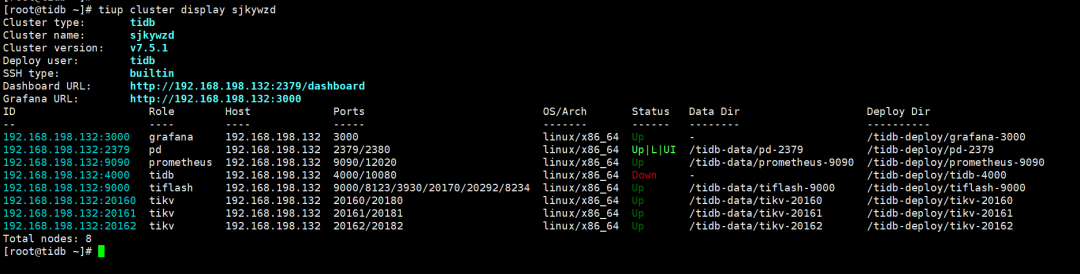
执行以下命令tiup cluster display sjkywzd查看集群的拓扑结构和状态,等其它命令……
清除集群数据
需注意:此操作会关闭所有服务,并清空其数据目录或/和日志目录,并且无法恢复,需要谨慎操作。
清空集群所有服务的数据,但保留日志:tiup cluster clean ${cluster-name} --data
清空集群所有服务的日志,但保留数据:tiup cluster clean ${cluster-name} --log
清空集群所有服务的数据和日志:tiup cluster clean ${cluster-name} --all
清空 Prometheus 以外的所有服务的日志和数据:tiup cluster clean ${cluster-name} --all --ignore-role prometheus
清空节点 172.16.13.11:9000 以外的所有服务的日志和数据:tiup cluster clean ${cluster-name} --all --ignore-node 172.16.13.11:9000
清空部署在 172.16.13.12 以外的所有服务的日志和数据:tiup cluster clean ${cluster-name} --all --ignore-node 172.16.13.12
销毁集群
需注意:销毁集群操作会关闭服务,清空数据目录和部署目录,并且无法恢复,需要谨慎操作。
tiup cluster destroy ${cluster-name}
报错处理
由于之前使用tiup playgroup安装过tidb集群,没有把tidb socket清理干净,导致后面使用tidb用户启动tidb出现权限不足错误。即:集群安装过程执行tiup cluster start sjkywzd --init出现了以下报错,tidb节点状态为Down。
tiup cluster start sjkywzd --init
这里只展示中间部分省略
Started cluster sjkywzd successfully
Failed to set root password of TiDB database to 'd+Qi61vhT@2*8b^A09'
Error: dial tcp 192.168.198.132:4000: connect: connection refused
Verbose debug logs has been written to /root/.tiup/logs/tiup-cluster-debug-2024-04-26-16-08-55.log.
检查防火墙处于关闭状态
查看tidb进程是否存在
ps -ef|grep tidb-server
检查 4000端口是否被占用
ss -lnp|grep 4000
检查tidb运行日志
cd /tidb-deploy/tidb-4000/log
tail -20 tidb.log
看到/tmp/tidb-4000.sock文件没权限删除。
手动删除:rm -rf /tmp/tidb-4000.sock
手动修改root密码
mysql -h 192.168.1.1 -P 4000 -u root
use mysql;
select host,user from user;
alter user 'root'@'%' identified by 'TidbAdmin51##';
mysql -h 192.168.1.1 -P 4000 -u root -p
常用命令:
手动拉起tidb服务:tiup cluster start sjkywzd -R tidb
集群环境全面检查:tiup cluster check --cluster sjkywzd
快速修复不合规项:tiup cluster check --apply --cluster sjkywzd
参考链接
https://pingkai.cn/docs/tidb/stable/quick-start-with-tidb https://docs-archive.pingcap.com/zh/tidb/v8.0/release-8.0.0/ https://pingkai.cn/tidbcommunity/blog/94c2b44c